Blog
How To Transfer Virtual Console Games To The Wii U


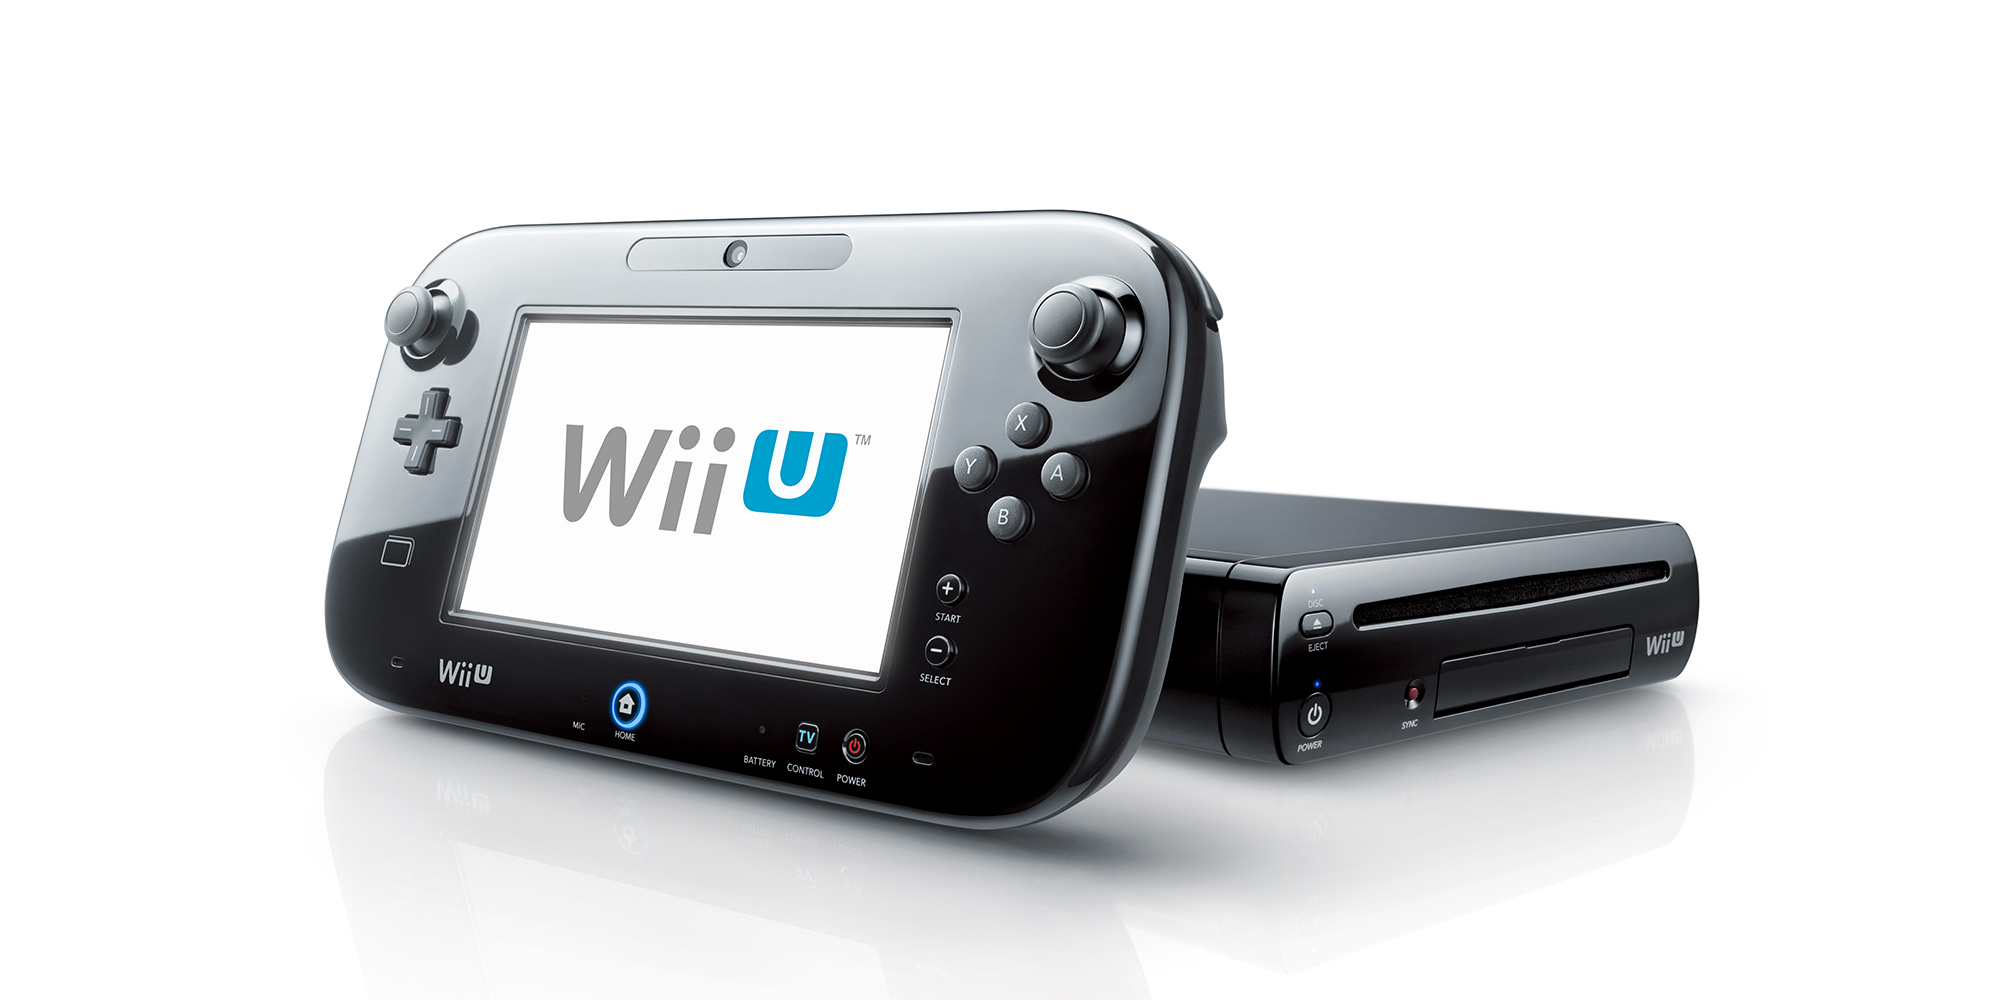
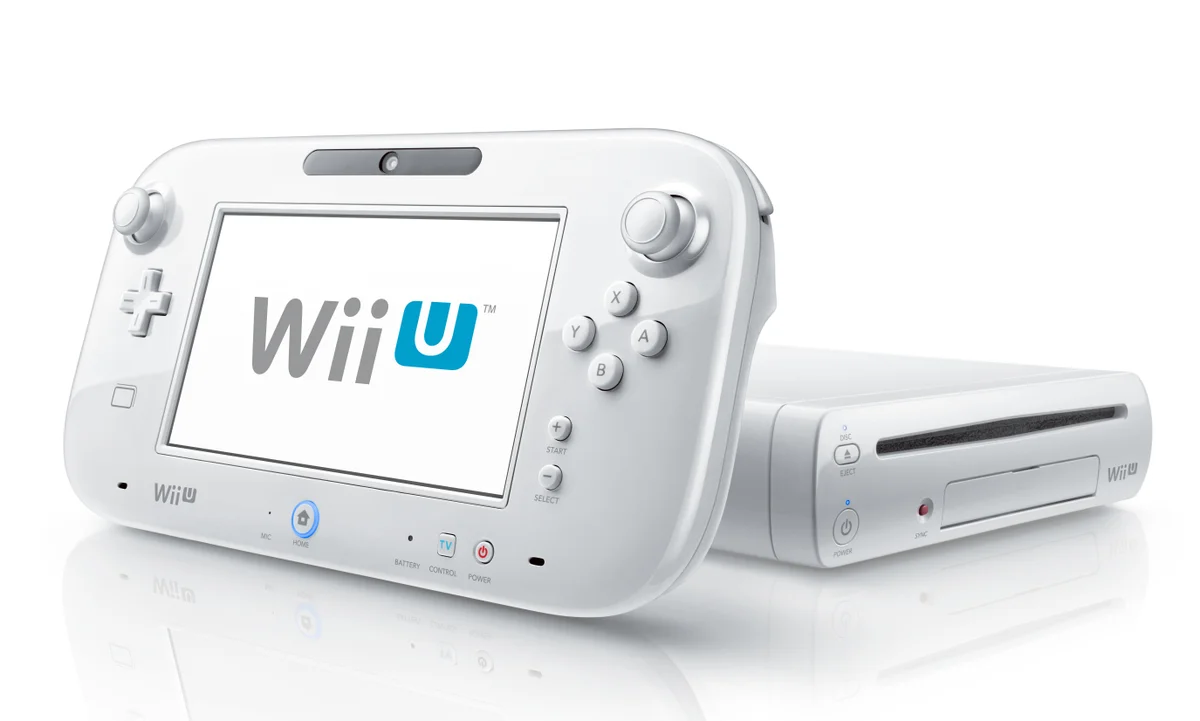
The Nintendo Wii U offers a unique gaming experience by allowing users to play their favorite Virtual Console games from the original Wii on a more modern system. If you’ve built up a collection of Virtual Console games on your Wii, you might be wondering how to transfer them to your Wii U. This guide will walk you through the process step-by-step, ensuring you can enjoy your classic games on the Nintendo Wii U without losing any data.
Why Transfer Virtual Console Games to the Wii U?
Before diving into the steps, it’s important to understand why transferring your Virtual Console games to the Wii U is beneficial:
- Enhanced Features: The Wii U offers improved hardware capabilities, which can enhance the gaming experience for Virtual Console games.
- Consolidation: Transferring your games allows you to consolidate your gaming library onto one device, making it easier to manage and access your games.
- Continued Support: The Wii U eShop continues to provide updates and new content, ensuring your games remain accessible and up-to-date.
Now, let’s get into the process of transferring your Virtual Console games.
Step 1: Prepare Your Wii and Wii U Consoles
1.1 Update Your Consoles
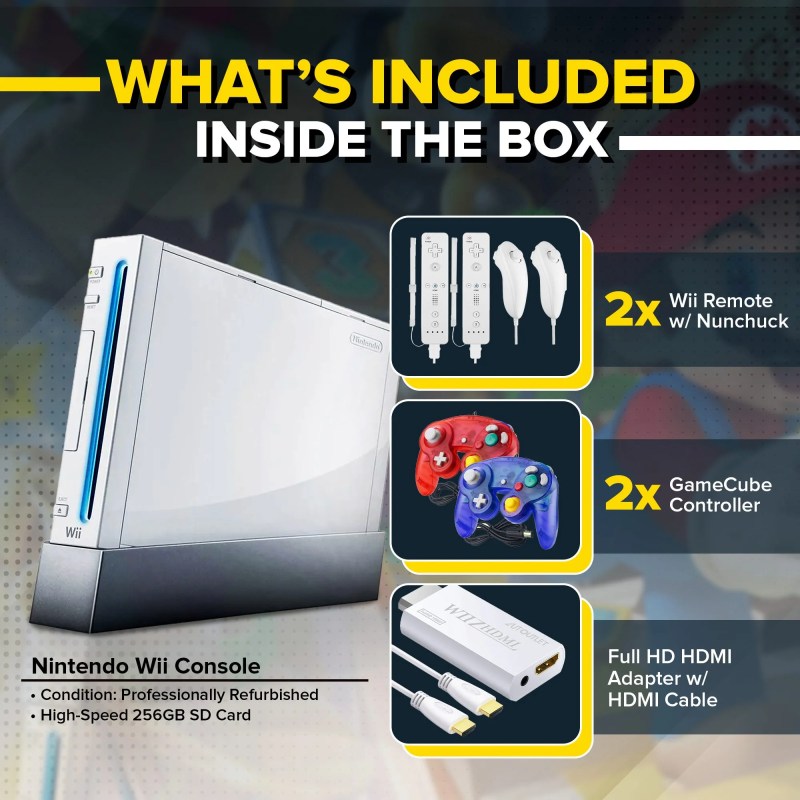
Before starting the transfer process, ensure that both your Wii and Wii U consoles are updated with the latest system software. This will help prevent any issues during the transfer.
- Wii: Go to the Wii Menu, select “Wii Options,” then “Wii Settings.” Click the right arrow to go to the second page, select “System Update,” and follow the on-screen instructions.
- Wii U: On the Wii U Menu, select “System Settings,” then scroll to “System Update,” and follow the prompts to check for and install any available updates.
1.2 Gather Necessary Accessories
You will need an SD card with at least 512 MB of free space to facilitate the transfer. If you have one, make sure it’s formatted for use with the Wii (FAT32 format).
1.3 Back Up Your Data
It’s always a good idea to back up your data before proceeding. Use the Wii’s Data Management options to copy important save files to your SD card.
Also Read- “Top 7 Must-Have Games for the Nintendo Wii in 2024”
Step 2: Use the Wii System Transfer Tool
2.1 Download the Wii System Transfer Tool
On your Wii U, go to the Wii U Menu and select the Wii Mode. From the Wii Mode, access the Wii Shop Channel. Search for and download the “Wii System Transfer” tool, which is available for free.
2.2 Launch the Transfer Tool on the Wii
Once downloaded, return to your Wii console. Insert the SD card into the Wii, and then download the “Wii System Transfer” tool from the Wii Shop Channel on your Wii as well.
2.3 Begin the Transfer Process on the Wii
Launch the Wii System Transfer tool on the Wii. Follow the on-screen instructions to start the transfer. The tool will move your Virtual Console games, save data, and other content from the Wii to the SD card.
- Important: Do not remove the SD card or power off the Wii during this process, as it may corrupt the data.
Also Read- The Evolution Of The Nintendo Wii: From Release To 2024
Step 3: Complete the Transfer on the Wii U
3.1 Insert the SD Card into the Wii U
Once the transfer on the Wii is complete, remove the SD card and insert it into the SD card slot on the Wii U.
3.2 Launch the Transfer Tool on the Wii U
In the Wii U’s Wii Mode, launch the Wii System Transfer tool. Follow the on-screen instructions to transfer the data from the SD card to your Wii U. This process will restore your Virtual Console games, save data, and other content onto the Wii U.
3.3 Verify the Transfer
After the transfer is complete, it’s a good idea to verify that all your content has been successfully moved. Check the Wii Mode on your Wii U to ensure that your Virtual Console games are present and functioning correctly.
Also Read- 7 Best Wii Games For Beginners: A Starter’s Guide
Step 4: Re-download Any Missing Games
4.1 Access the Wii Shop Channel
If any of your Virtual Console games did not transfer correctly or are missing, you can re-download them from the Wii Shop Channel. Go to the “Titles You’ve Downloaded” section and select any missing games to download them again at no additional cost.
4.2 Transfer Save Data Manually (If Needed)
In some cases, you may need to manually move save data. To do this, copy the save files from the SD card to the Wii U’s internal storage using the Data Management options in Wii Mode.
Tips for a Smooth Transfer
Tip 1: Ensure Sufficient SD Card Space
Make sure your SD card has enough free space to accommodate all the data being transferred. If necessary, delete any unnecessary files from the SD card before starting the process.
Tip 2: Use a Reliable SD Card
Using a high-quality, reliable SD card can help prevent data corruption during the transfer. Avoid using old or damaged SD cards.
Tip 3: Be Patient
The transfer process can take some time, especially if you have a large amount of data. Be patient and allow the transfer to complete without interruption.
Tip 4: Re-download Games in Case of Issues
If any games or data are missing after the transfer, remember that you can always re-download purchased Virtual Console titles from the Wii Shop Channel.
Conclusion
Transferring your Virtual Console games from the Nintendo Wii to the Wii U is a straightforward process that allows you to enjoy your classic games on a more modern console. By following the steps outlined in this guide, you can ensure a smooth transfer of your gaming library, preserving your data and expanding your Wii U’s game collection. If you encounter any issues, remember that you can re-download games from the Wii Shop Channel or contact Nintendo support for assistance. Happy gaming!