Blog
Nintendo DS Lite Battery Replacement: How to Extend the Life of Your Console


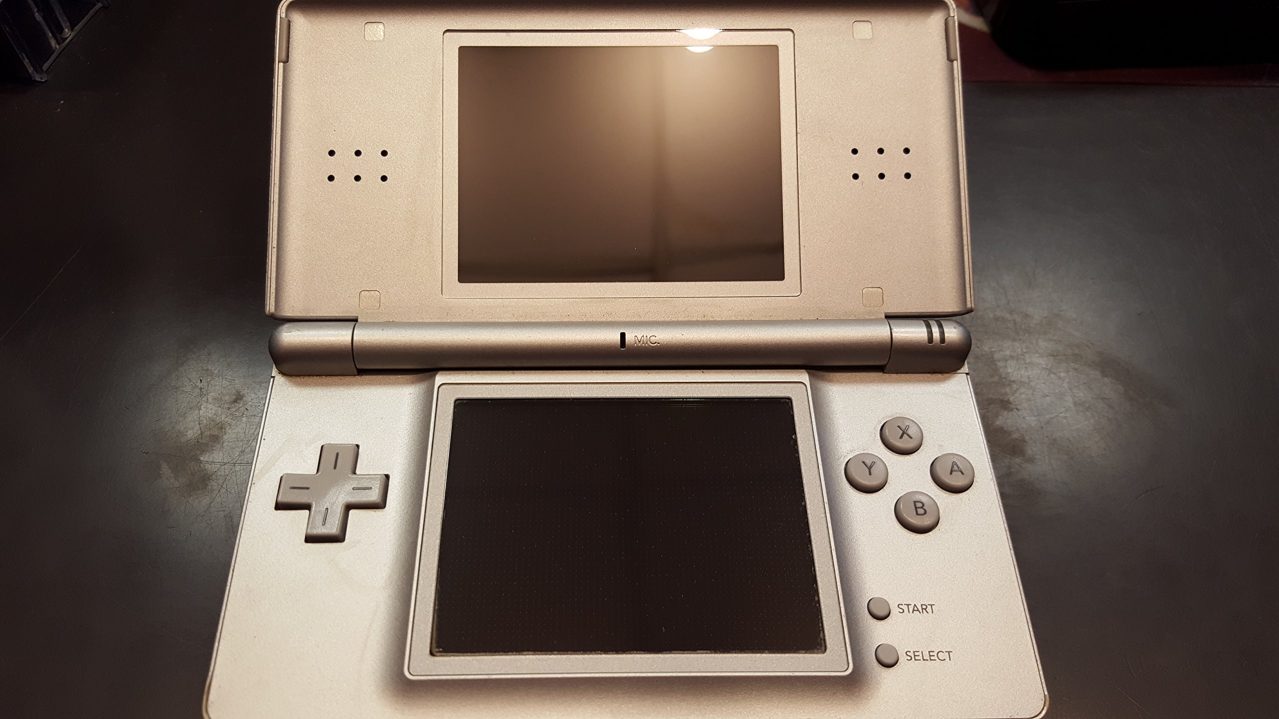
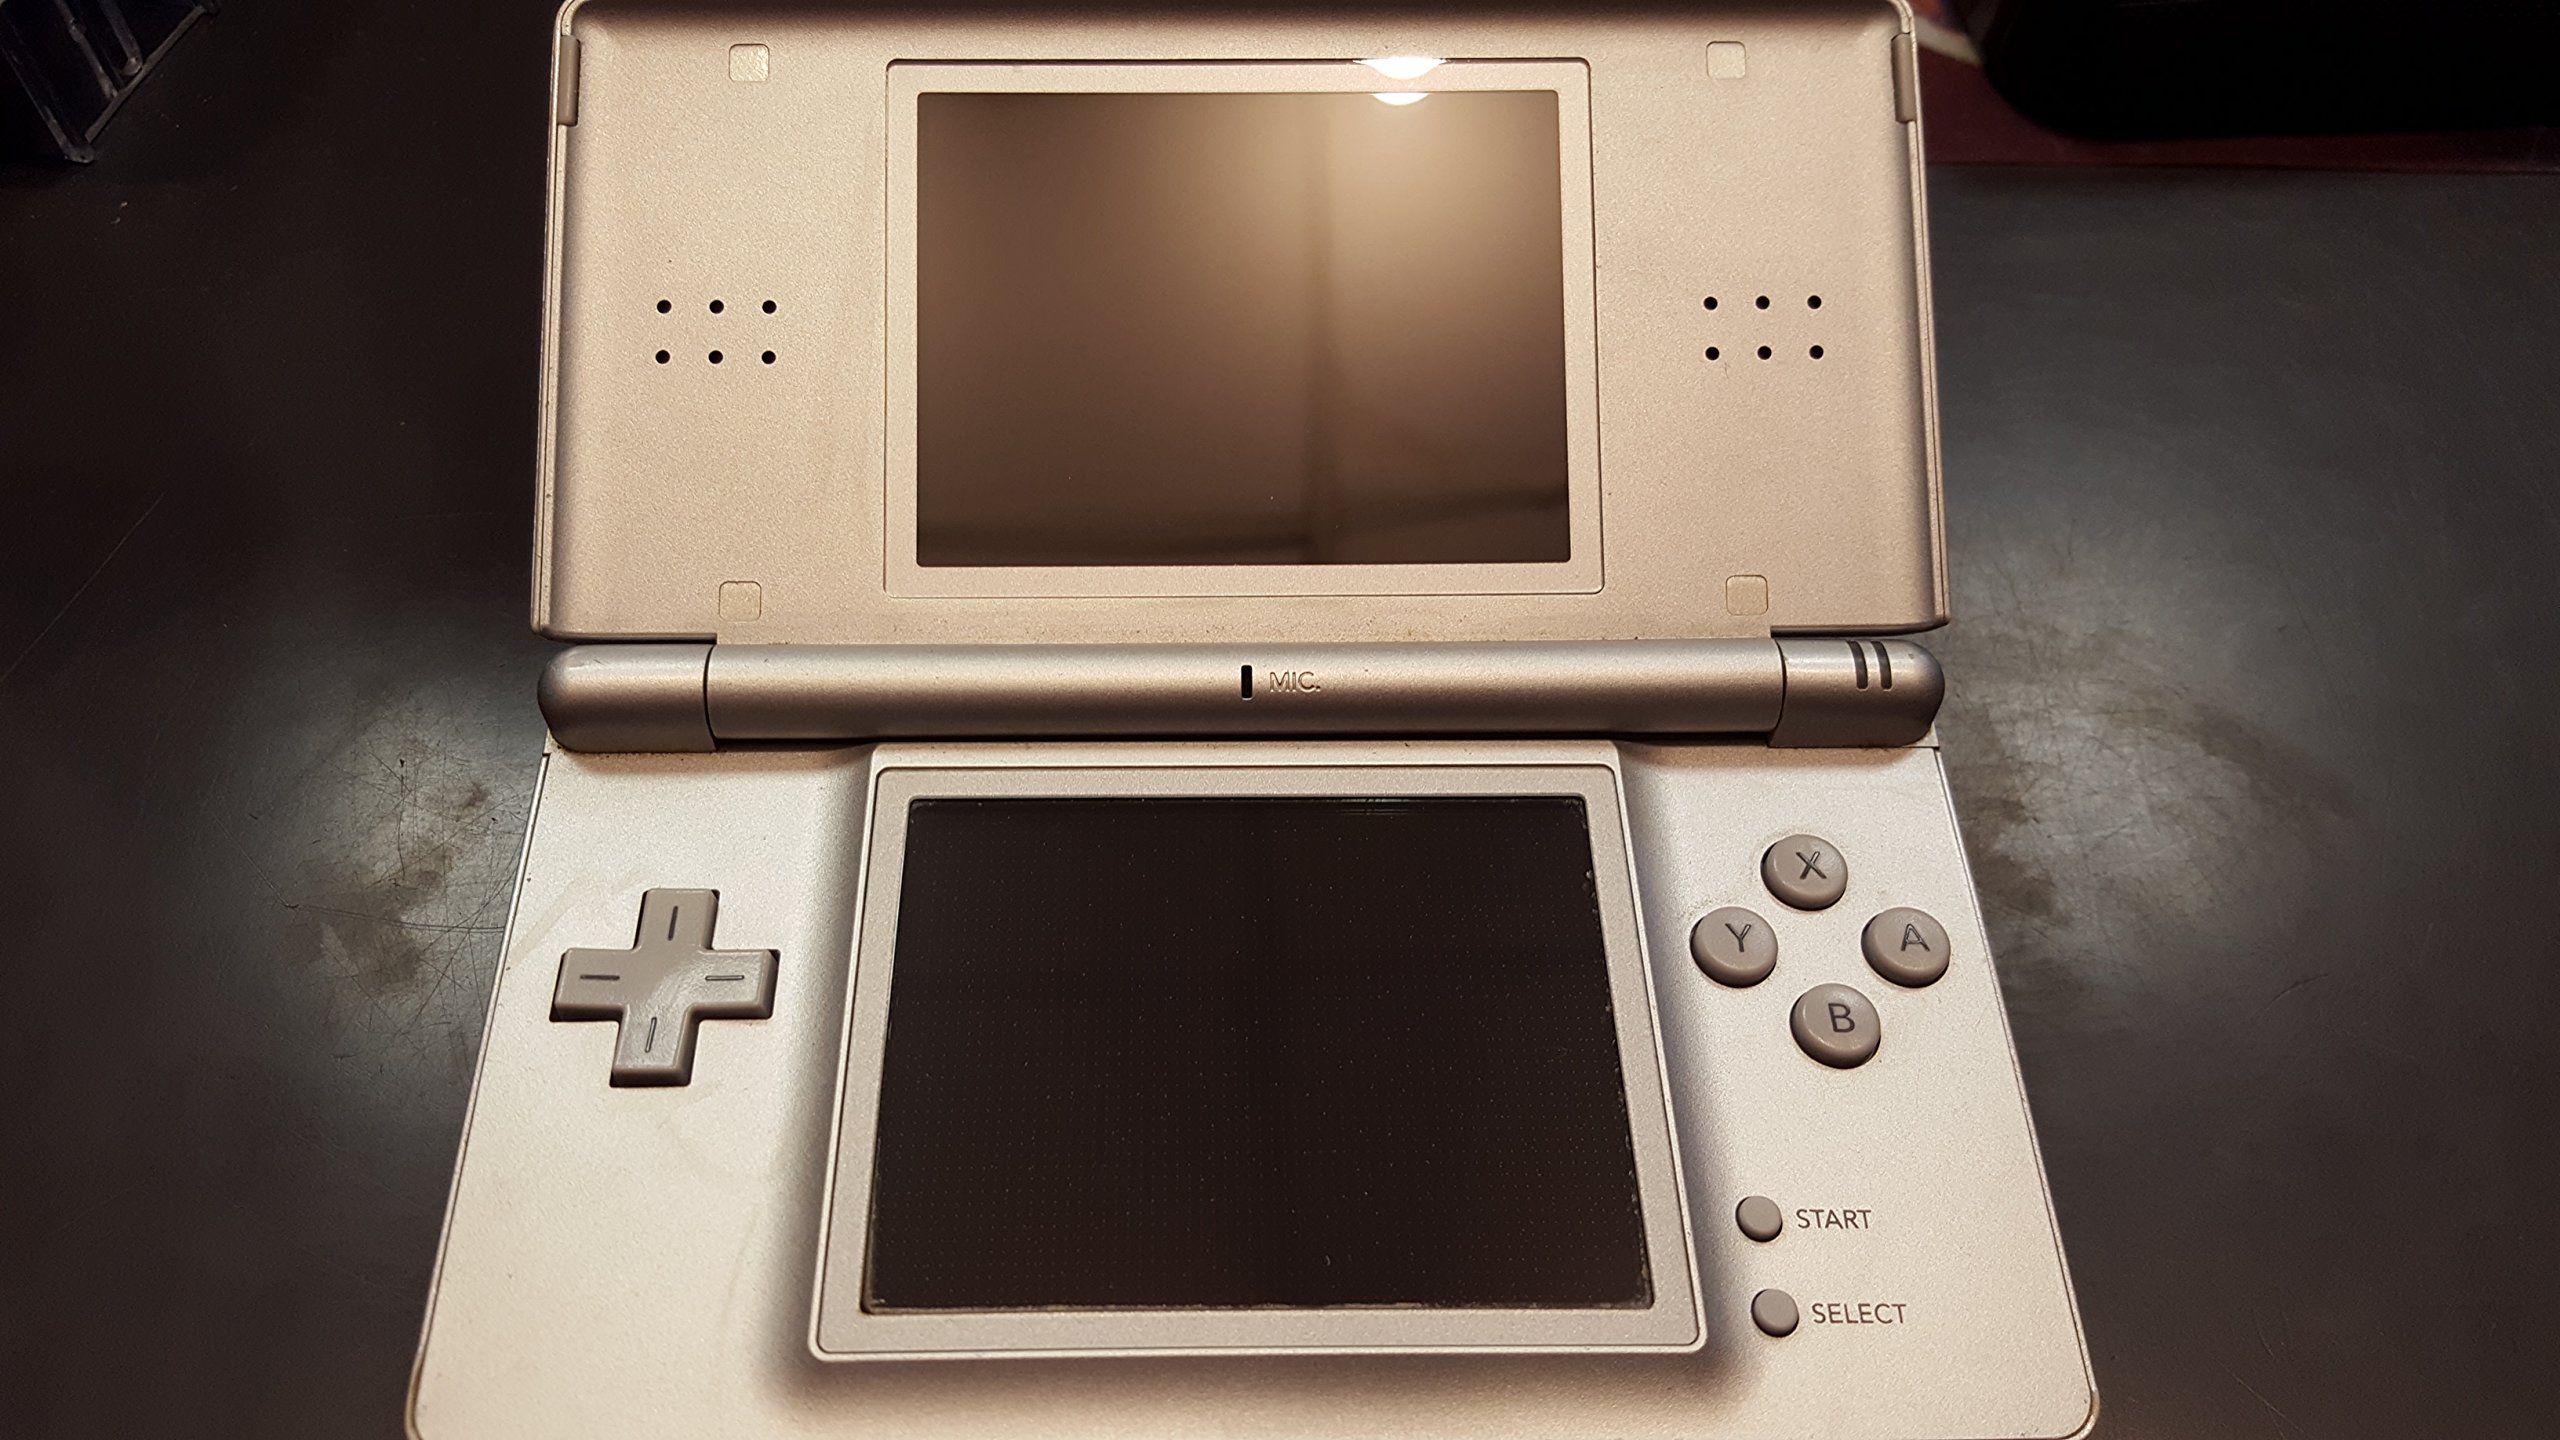
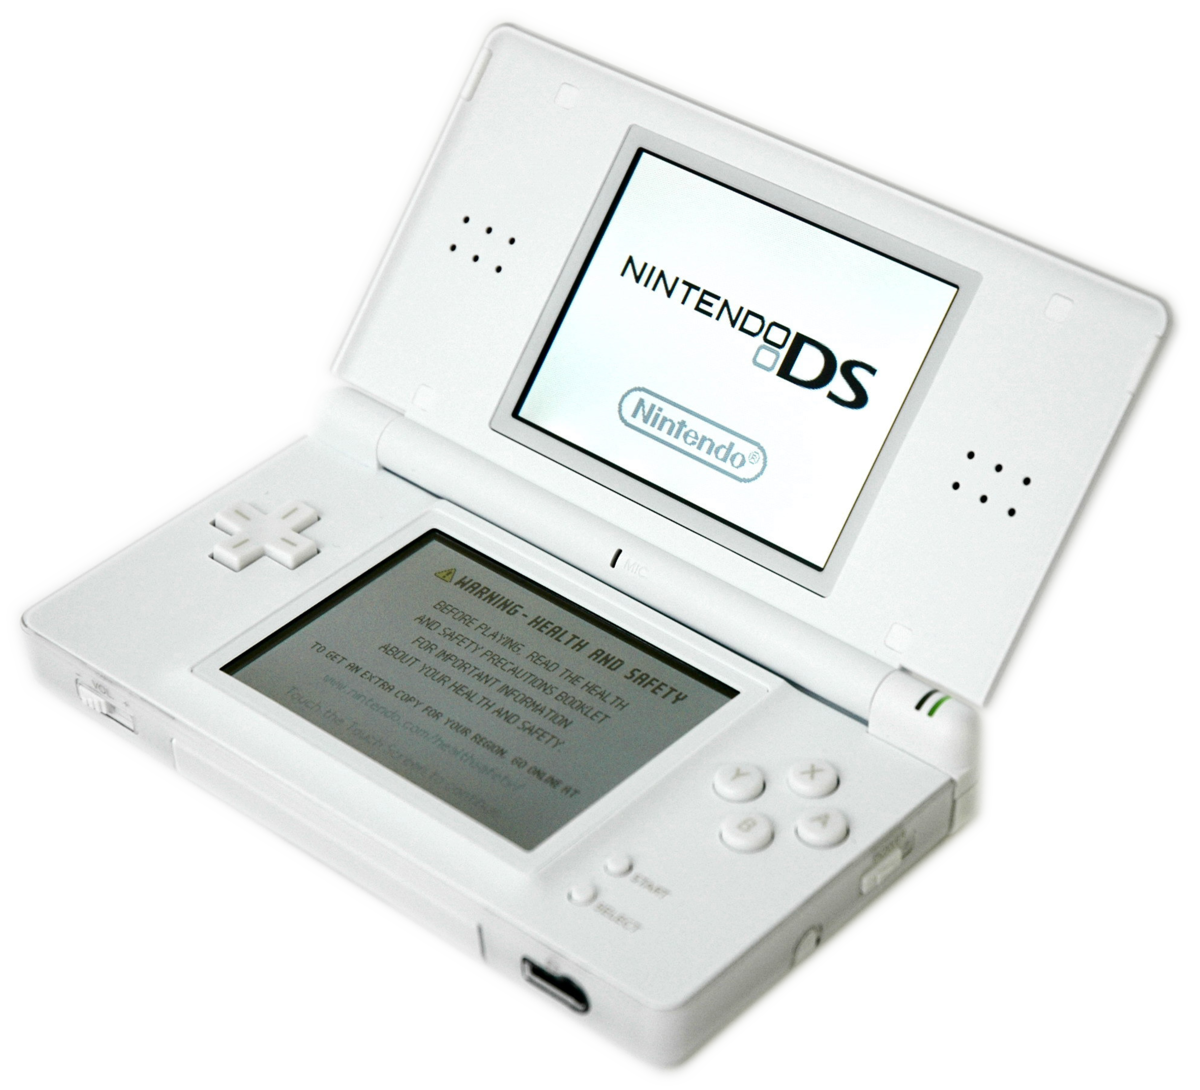
The Nintendo DS Lite remains one of the most beloved handheld gaming consoles ever made, known for its compact design, dual screens, and extensive library of games. However, like all portable devices, the DS Lite relies on a rechargeable battery, which can lose its ability to hold a charge over time. If you find that your DS Lite isn’t holding a charge like it used to or is draining too quickly, it might be time to replace the battery. In this article, we’ll walk you through the process of replacing the battery in your Nintendo DS Lite and provide tips on how to extend the life of your console.

Why Replace the Nintendo DS Lite Battery?
Over time, the performance of rechargeable batteries diminishes. The original battery in your Nintendo DS Lite may no longer provide the same amount of playtime as it did when the console was new. Signs that your DS Lite battery needs replacing include:
- Reduced Battery Life: The console’s battery drains much faster than it used to, giving you only a short time to play before needing to recharge.
- Inability to Hold a Charge: The battery doesn’t charge fully or loses its charge quickly even when not in use.
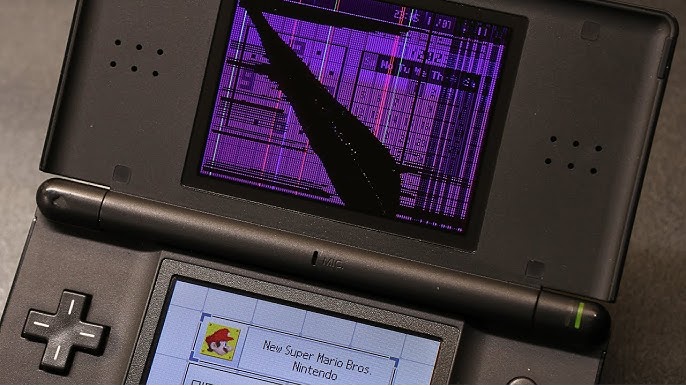
- Overheating: The battery heats up excessively during charging or use, which could indicate that it’s nearing the end of its lifespan.
Replacing the battery can breathe new life into your DS Lite, allowing you to enjoy your games for extended periods once again.
What You’ll Need for the Battery Replacement
Before you begin the replacement process, make sure you have the necessary tools and a replacement battery on hand.
Tools and Materials:
- Replacement Battery: Ensure you purchase a battery specifically designed for the Nintendo DS Lite. Genuine Nintendo parts are recommended for optimal performance, but high-quality third-party batteries can also work well.
- Small Phillips-Head Screwdriver: This is required to open the battery compartment on the DS Lite.
- Soft Cloth or Anti-Static Mat: To protect your console and the work surface.
Optional Tools:
- Tweezers: These can help if you need to handle small screws or components.
- Isopropyl Alcohol and Cotton Swabs: Useful for cleaning the battery compartment if necessary.
Step-by-Step Guide to Replacing the DS Lite Battery
Step 1: Power Off and Prepare Your Console
- Power Off the DS Lite: Ensure your console is completely powered off before starting the replacement process. Disconnect any cables and remove any game cartridges to avoid damage.
- Flip the Console: Turn the DS Lite upside down to access the battery compartment, which is located on the back of the console.
Step 2: Remove the Battery Cover
- Locate the Screw: The battery compartment cover is secured with a single Phillips-head screw. Use a small Phillips-head screwdriver to remove this screw. Keep the screw in a safe place as you’ll need it to reattach the cover.
- Remove the Cover: Once the screw is removed, gently lift the battery cover off the console to reveal the battery.
Step 3: Remove the Old Battery
- Lift the Battery: The battery is seated snugly in the compartment. There should be a small tab or lip on the battery that you can use to lift it out. If the battery is stuck, gently pry it out with your fingers, being careful not to damage any internal components.
- Inspect the Battery Compartment: Before inserting the new battery, take a moment to inspect the compartment. If there’s any dust or debris, clean it out using a soft cloth or a cotton swab with isopropyl alcohol.
Step 4: Install the New Battery
- Insert the New Battery: Align the new battery with the connectors inside the battery compartment. Ensure the contacts on the battery line up correctly with the contacts inside the console. Press the battery down gently until it sits firmly in place.
- Replace the Battery Cover: Once the new battery is installed, replace the battery cover and secure it with the screw you removed earlier. Make sure the cover is tightly secured to prevent the battery from shifting during use.
Step 5: Charge and Test Your DS Lite
- Charge the New Battery: After replacing the battery, plug in your DS Lite and allow it to charge fully. This might take a few hours, depending on the battery’s state of charge when you installed it.
- Test the Console: Once the battery is fully charged, power on your DS Lite and test it to ensure everything is functioning correctly. Check the battery life to see if it has improved.
Also Read- 7 Top Puzzle Games For Nintendo DS Lite To Keep Your Mind Sharp
Tips to Extend the Life of Your DS Lite Battery

Replacing the battery is a great way to restore your DS Lite’s performance, but with proper care, you can extend the life of your new battery and the console itself. Here are some tips to help:
1. Avoid Overcharging
While modern batteries are designed to handle being plugged in for extended periods, it’s still a good idea to unplug your DS Lite once it’s fully charged. Continuous overcharging can generate heat and may reduce the battery’s lifespan over time.
2. Store the Console Properly
If you’re not using your DS Lite for an extended period, store it in a cool, dry place. Avoid exposing it to extreme temperatures, as this can affect the battery’s performance. If possible, charge the battery to about 50% before storing it, as this helps maintain the battery’s health during long periods of inactivity.
3. Use the Correct Charger
Always use the original Nintendo charger or a high-quality replacement that is compatible with the DS Lite. Using an incorrect charger can damage the battery and potentially harm the console.
4. Manage Your Play Sessions
Avoid letting your DS Lite’s battery drain completely before recharging. Regularly topping up the battery, rather than letting it drop to 0%, can help maintain its capacity over time.
5. Keep the Console Clean
Dust and debris can accumulate in the battery compartment and other parts of the console, potentially causing overheating or poor battery performance. Regularly clean the exterior and the battery compartment to ensure optimal functioning.
Also Read- How To Set Up Parental Controls On The Nintendo DS Lite
Conclusion
Replacing the battery in your Nintendo DS Lite is a straightforward process that can significantly extend the life of your console. By following the steps outlined in this guide, you can easily replace the old battery with a new one, ensuring that your DS Lite continues to provide hours of gaming enjoyment. Additionally, by adopting good battery care practices, you can maximize the lifespan of your new battery and keep your console running smoothly for years to come. Whether you’re a nostalgic gamer or simply looking to maintain your device, taking care of your DS Lite’s battery is key to enjoying uninterrupted gameplay.