
Blog
Customize And Mod Your Nintendo GameBoy Advance

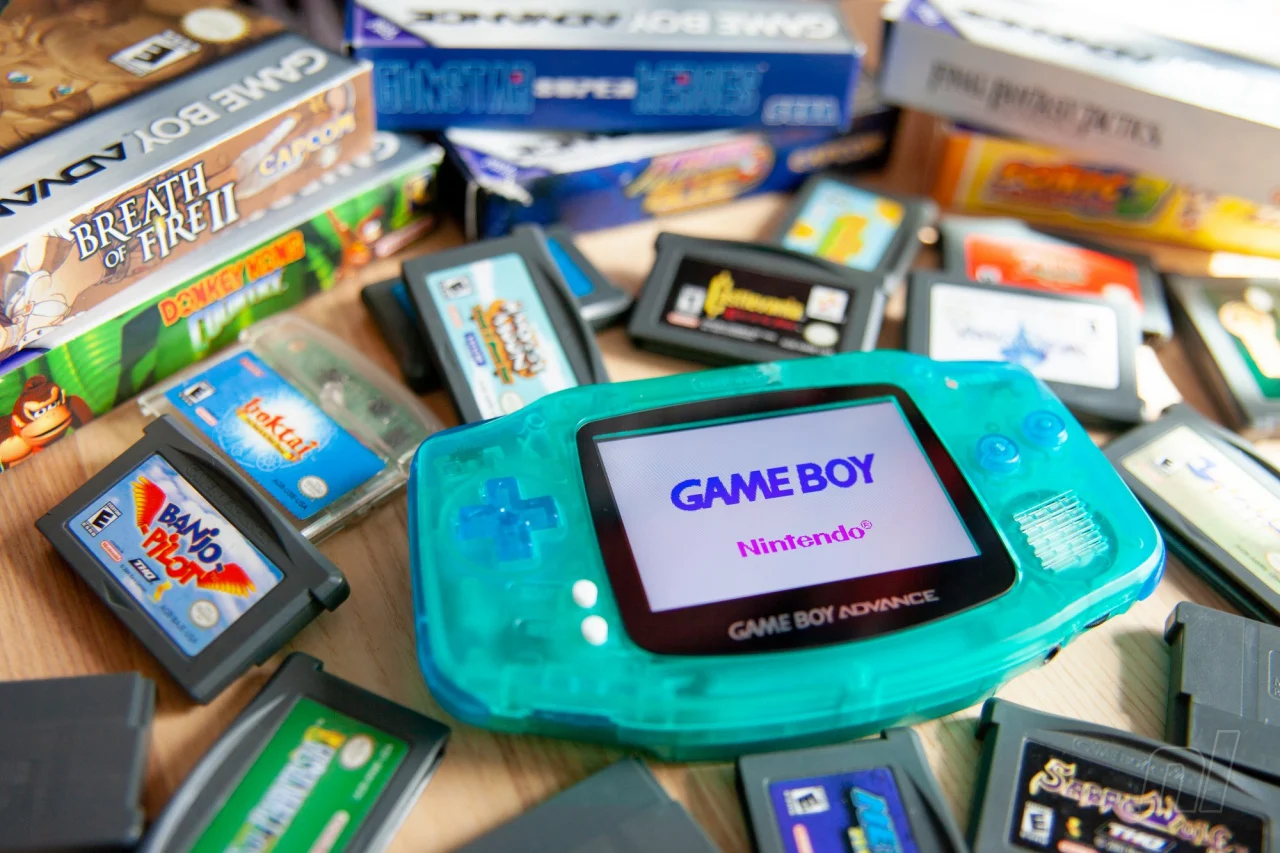
The Nintendo GameBoy Advance (GBA) is a beloved handheld console that holds a special place in the hearts of many gamers. Despite its age, the GBA remains popular, and many enthusiasts enjoy customizing and modding their consoles to enhance their gaming experience. This guide will provide you with all the information you need to customize and mod your GBA, making it unique and improving its functionality.
Why Customize and Mod Your GameBoy Advance?
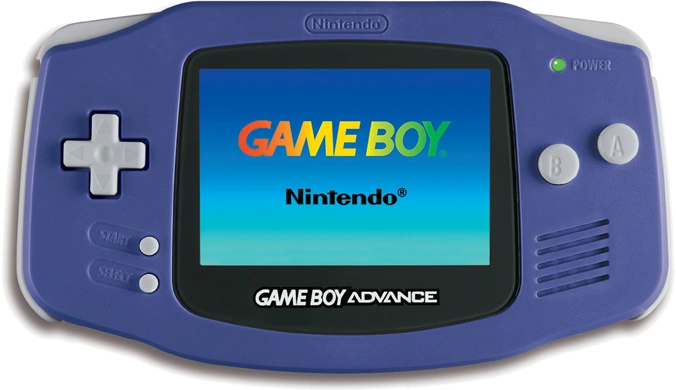
Customizing and modding your GBA can breathe new life into your old console. Here are some reasons why you might want to consider it:
- Improved Aesthetics: Personalize your GBA with custom shells, buttons, and screens to reflect your style.
- Enhanced Performance: Mods can improve battery life, screen quality, and sound.
- Increased Functionality: Adding features like backlighting and rechargeable batteries can modernize your GBA.
- Nostalgia and Fun: The process of customizing and modding can be a fun hobby and a way to relive your childhood memories.
Also Read- 5 Trending Games For Nintendo 3DS XL In 2024
Essential Tools and Materials
Before you start, gather the necessary tools and materials:
- Small Phillips and flathead screwdrivers
- Spudger or plastic pry tool
- Soldering iron and solder (for advanced mods)
- Replacement shells, buttons, and screens
- Screen lens and adhesive
- Rechargeable battery pack (optional)
Also Read- Tips And Tricks To Maximize Battery Life On Your New Nintendo 3DS XL
Step-by-Step Guide to Customizing and Modding Your GBA
1. Disassemble Your GameBoy Advance
To start customizing and modding, you need to disassemble your GBA. Here’s how:
- Remove the Screws: Use a small Phillips screwdriver to remove the screws from the back of the GBA.
- Open the Shell: Carefully pry open the shell using a spudger or plastic pry tool. Be gentle to avoid damaging the internal components.
- Detach the Ribbon Cable: Once the shell is open, carefully detach the ribbon cable connecting the screen to the motherboard.
2. Customize the Shell and Buttons
Customizing the shell and buttons is a simple way to change the look of your GBA.
- Choose a New Shell: Select a replacement shell in your preferred color or design. You can find a wide variety of custom shells online.
- Replace the Buttons: Swap out the original buttons for new ones. Custom buttons are available in various colors and styles to match your new shell.
- Reassemble the Shell: Reassemble the GBA with the new shell and buttons, ensuring all components are securely in place.
3. Upgrade the Screen
One of the most popular mods for the GBA is upgrading the screen for better visibility and color.
- Choose a Backlit Screen: Purchase a modern backlit screen designed for the GBA. These screens provide better brightness and color compared to the original.
- Install the Screen: Carefully install the new screen, following the manufacturer’s instructions. This may involve soldering the new screen’s wires to the motherboard.
- Attach the Screen Lens: Apply a new screen lens to protect the upgraded screen. Ensure it is properly aligned and securely attached.
4. Add a Rechargeable Battery
Modernize your GBA by adding a rechargeable battery pack.
- Choose a Battery Pack: Select a rechargeable battery pack compatible with the GBA. These packs often come with a charging port and cable.
- Install the Battery Pack: Follow the instructions to install the battery pack. This usually involves soldering the battery wires to the motherboard’s power points.
- Charge and Test: Fully charge the battery and test the GBA to ensure the battery mod works correctly.
5. Improve the Sound
Enhance your gaming experience with better sound quality.
- Install a New Speaker: Purchase a high-quality replacement speaker designed for the GBA. Install the new speaker by soldering it to the motherboard’s audio output points.
- Add a Headphone Jack: If your GBA doesn’t have a headphone jack, consider adding one. This involves soldering a headphone jack to the motherboard and cutting a hole in the shell to fit the jack.
Also Read- 5 Top Fighting Games For The New Nintendo 3DS XL
Tips and Tricks for Successful Modding
- Take Your Time: Modding your GBA can be a delicate process. Work slowly and carefully to avoid damaging components.
- Follow Tutorials: There are many online tutorials and guides available. Follow these resources to ensure you are performing each step correctly.
- Practice Soldering: If you’re new to soldering, practice on spare components before working on your GBA.
- Organize Screws and Parts: Keep track of all screws and small parts. Use a magnetic mat or small containers to organize them.
- Test Frequently: After each mod, reassemble and test your GBA to ensure everything works correctly before moving on to the next mod.
Popular Customizations
Here are some popular customizations that you can consider for your GBA:
Custom Shells and Buttons
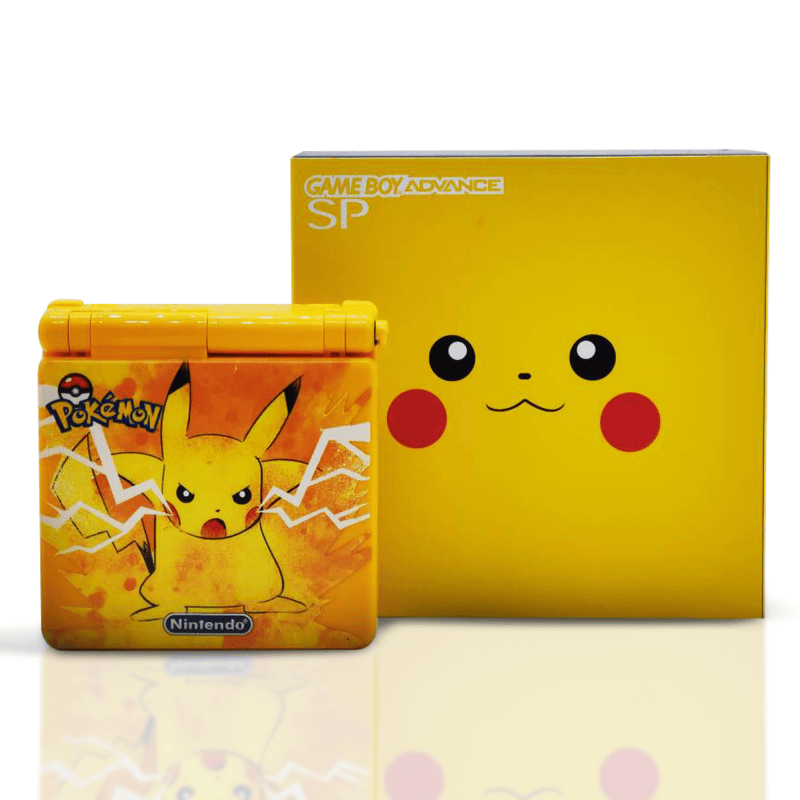
- Designs and Colors: Choose from a variety of designs, including transparent shells, themed designs, and various colors to make your GBA stand out.
- Custom Buttons: Match your new shell with custom buttons available in different colors and styles.
Screen Upgrades
- IPS Screens: Upgrade to an IPS screen for superior brightness, contrast, and color accuracy.
- Bivert Mods: If you prefer the original screen but want improved clarity, consider a bivert mod to enhance the screen’s visibility.
Battery Upgrades
- Rechargeable Packs: Replace the old battery with a modern rechargeable pack to eliminate the need for AA batteries.
- USB Charging: Some battery packs come with USB charging capabilities, making it easy to charge your GBA anywhere.
Conclusion
Customizing and modding you Nintendo GameBoy Advance can transform it into a unique, high-performance handheld console. Whether you’re looking to improve its aesthetics, enhance its performance, or increase its functionality, there are countless mods and customizations available. By following this guide and taking your time, you can create a GBA that’s tailored to your preferences and ready for many more years of gaming fun. Happy modding!


One thought on “Customize And Mod Your Nintendo GameBoy Advance”